Use the supplied dieline
Keep the technical drawing separate from the print artwork. Follow its bleed, safe-area, seal, and fold indications.
Build on the approved production dieline, keep important information readable, and plan windows and print effects before the final proof.
Request your dielineCustom printed. Starting at 500 pieces.
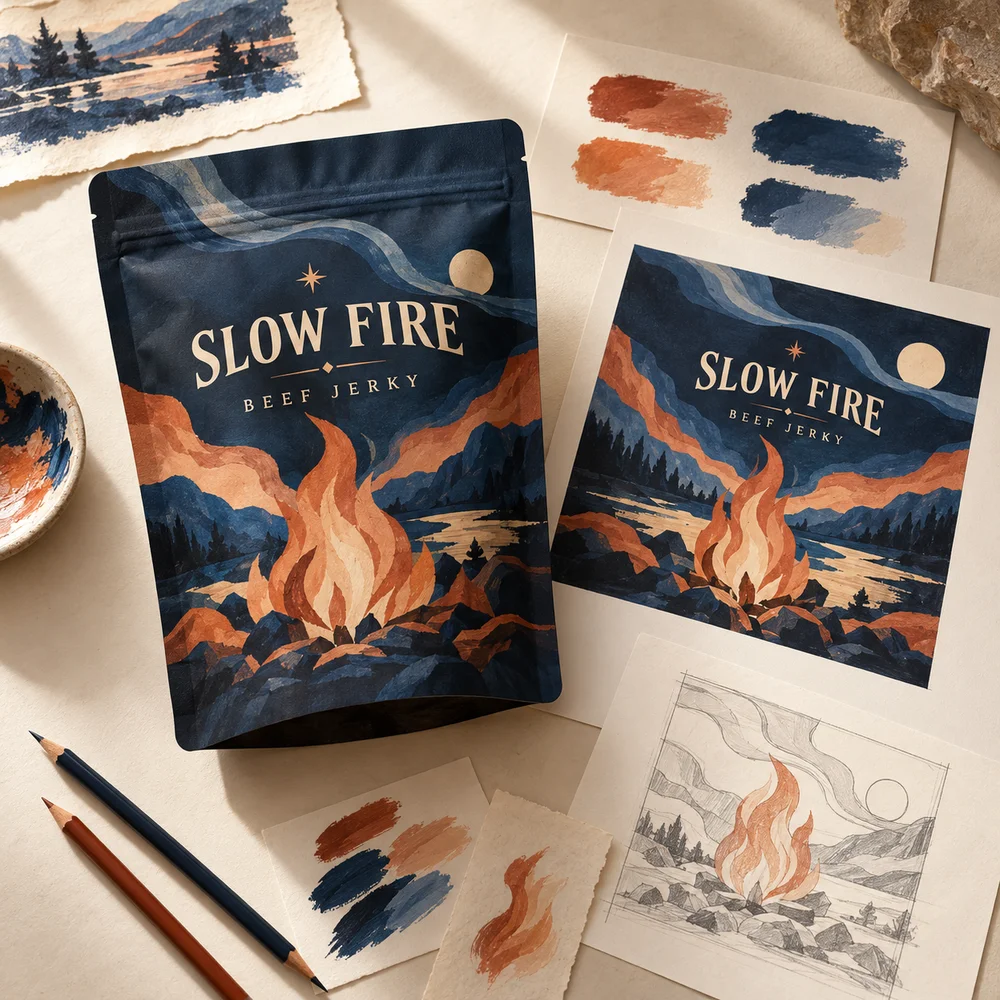
A design file for a similar-looking bag is not automatically suitable for your bag. Confirm the format, dimensions, opening, and features before preparing the production artwork.
Keep the technical drawing separate from the print artwork. Follow its bleed, safe-area, seal, and fold indications.
Do not place essential copy across seals, folds, zippers, cut lines, or tear-off sections. Check the full front and back layout.
A filled pouch is a three-dimensional object. Areas that look flat in a file may curve or fold when the bag is filled.
| File element | What to prepare | Why it matters |
|---|---|---|
| Logos and type | Vector assets where available; outline fonts or supply them as instructed | Keeps important elements clear and avoids missing-font substitutions |
| Photographs and illustrations | High-resolution assets at final print size; include linked files | An enlarged low-resolution image may look soft in print |
| Color | Use the requested color setup and identify any critical brand-color references | Screen appearance is not a guarantee of printed color |
| White ink and windows | Clearly identify opaque and transparent areas on compatible constructions | Controls what shows through the printed design |
| Special finishes | Separate, clearly named effect layers following the supplied instructions | Keeps spot effects distinct from regular artwork |
| Barcode and small text | Readable placement clear of seals, folds, and distorted areas | Supports practical scanning and label readability |
A shared layout makes a range cohesive, but each version still needs a careful review.
Check flavor names, net weight, ingredients, nutrition, warnings, and any other information required for your product. Do not rely on sample artwork.
Keep repeat elements aligned while making the varieties easy to distinguish. Review all versions together.
Read the final proof at actual size and confirm it matches the order. Your brand approves the final label content before printing.
Send the assets you have and explain what is missing. Our packaging design team can discuss a new pouch layout, flavor extensions, or adjustments to existing files.
Bring your logo, references, flavor list, and required label content so the project can be scoped.
Share the current file and explain the changes you want, including any new pouch dimensions or features.
Ask for help setting up windows, metallic areas, or spot layers before completing the file.
Use the final dieline supplied for this order. Another supplier’s seals, safe areas, or measurements may differ.
Follow the measurements on your approved production template. A generic bleed value should not override the drawing for the actual package.
Share what you have so we can review it. Editable files and high-quality assets may be needed for adjustments or special print layers.
Your brand is responsible for the final product statements and required labeling. Design support helps organize the supplied content on the package.
A digital proof helps review the layout and content. Evaluate physical samples for material feel and finish appearance, and discuss critical color requirements before production.